SaaSculator part 6 - launching on Netlify
Table of Contents
This is part of a series about building my side project SaaSculator. Each part covers my experiences and learnings while developing. The topics include the development, design, marketing & running of this project. You can find all parts here.
Static site hosting
I have already mentioned that I am going to host this project on Netlify in the very fist part. The main reason was that I heard a lot of good things about it, especially on the syntax.fm podcast, and I really wanted to try it out myself. Netlify is a great solution for hosting static websites, because it allows you to set up projects quickly and for free. On top of that it provides additional features such as AWS Lambda functions, form submissions, authentication and hosting for large media. This lets you start quickly but gives you enough possibilities later. Exactly what I was looking for.
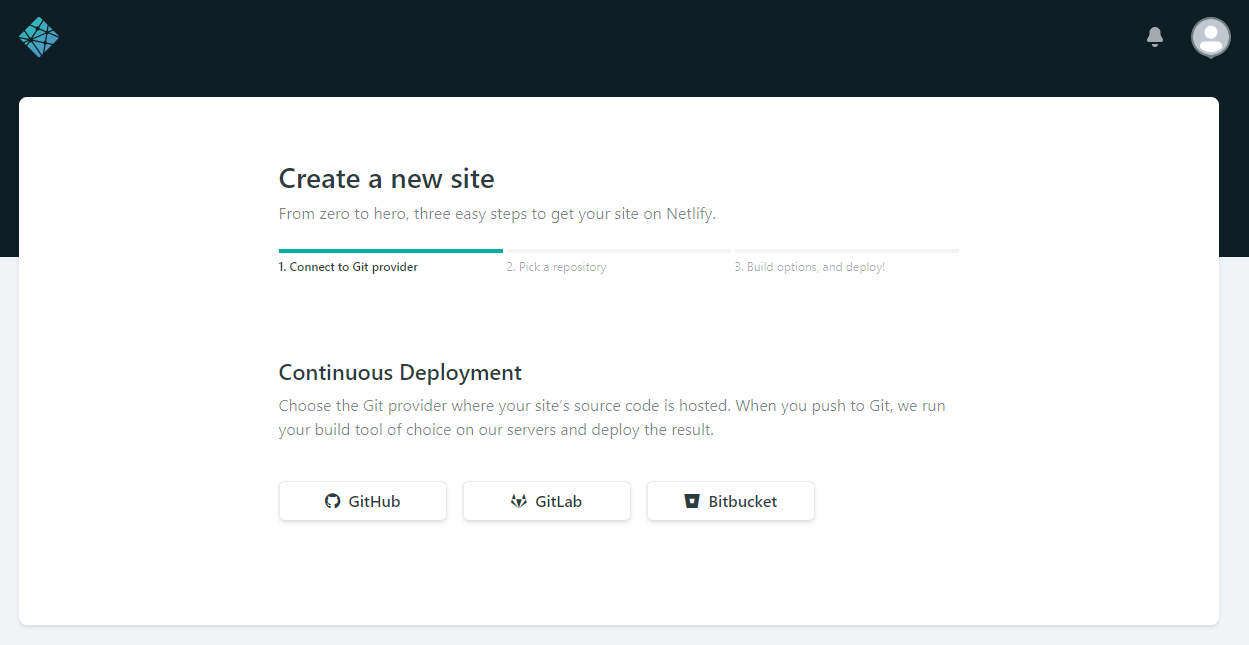
After signing up you choose your repository (currently GitHub, GitLab & Bitbucket are supported). Tell it the command it needs to run in order to build your site. And finally, the location were the generated files are. In Gridsome’s case that is gridsome build to build the site and the folder is dist. That’s it!
 Netlify will automatically pull from the
 master branch and start to build your site. It also has auto-deploy enabled, so every time you push on master it will deploy the new version automatically.
Netlify deploys your website on a randomly generated subdomain. This allows you to immediately access the site. So, your website could be hosted as random-name-23156.netlify.com*. Luckily that name can be customized under "Domain Settings". There you can choose a custom subdomain, as long as it’s not taken yet. But there is also the option to add your custom domain free of charge.
Custom domain
Click on the button to add your custom domain and Netlify will give you all the instructions to set it up quickly with your domain registrar or DNS service. In my case I use Cloudflare to manage the DNS entries, so that’s where I’m heading next.
In my Cloudflare DNS settings I just added an A record with the IP address 104.198.14.52. This is the IP address of Netlify’s load balancer. Additionally, you need a CNAME record to forward the www subdomain to your assigned (or if you changed it selected) Netlify subdomain.

After these records are in place it could take a while until the DNS entries are propagated and updated everywhere around. As soon as Netlify is aware of the changed records, the page can be reached via the custom domain, as well as the old Netlify subdomain.
Let’s encrypt
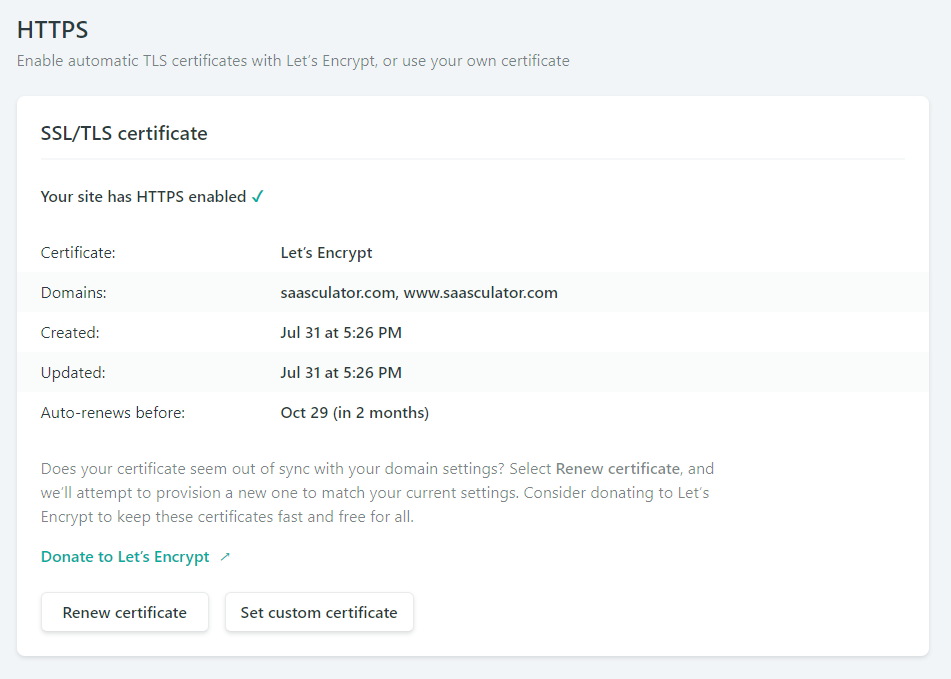
The last step is to add an SSL/TLS certificate via Let’s Encrypt. This is done at the bottom of the Domain Settings page on Netlify and is just a click if everything was set up correctly before. Now the pages use HTTPS.

Note: when using Cloudflare make sure that you disable the proxy (= orange cloud), because in order for Netlify to create your Let’s encrypt certificate it needs to serve its content. The problem when using Cloudflare’s cache is that the Server header of your pages requests do not contain Netlify but cloudflare. As a result, Netlify will tell you an error message like the following:
saasculator.com doesn’t appear to be served by Netlify
This took me some time to figure out, which is especially annoying because DNS changes often take some time, so cannot immediately check if your changes solved the problem, as it was in my case. You can check the header by using this command in your cli:
curl -s -v http://your-newly-configured-hostname.com 2>&1 | grep Server
More ways to troubleshoot ssl certificate issues are documented here.
In the next part I will include options for user feedback and make the design responsive.